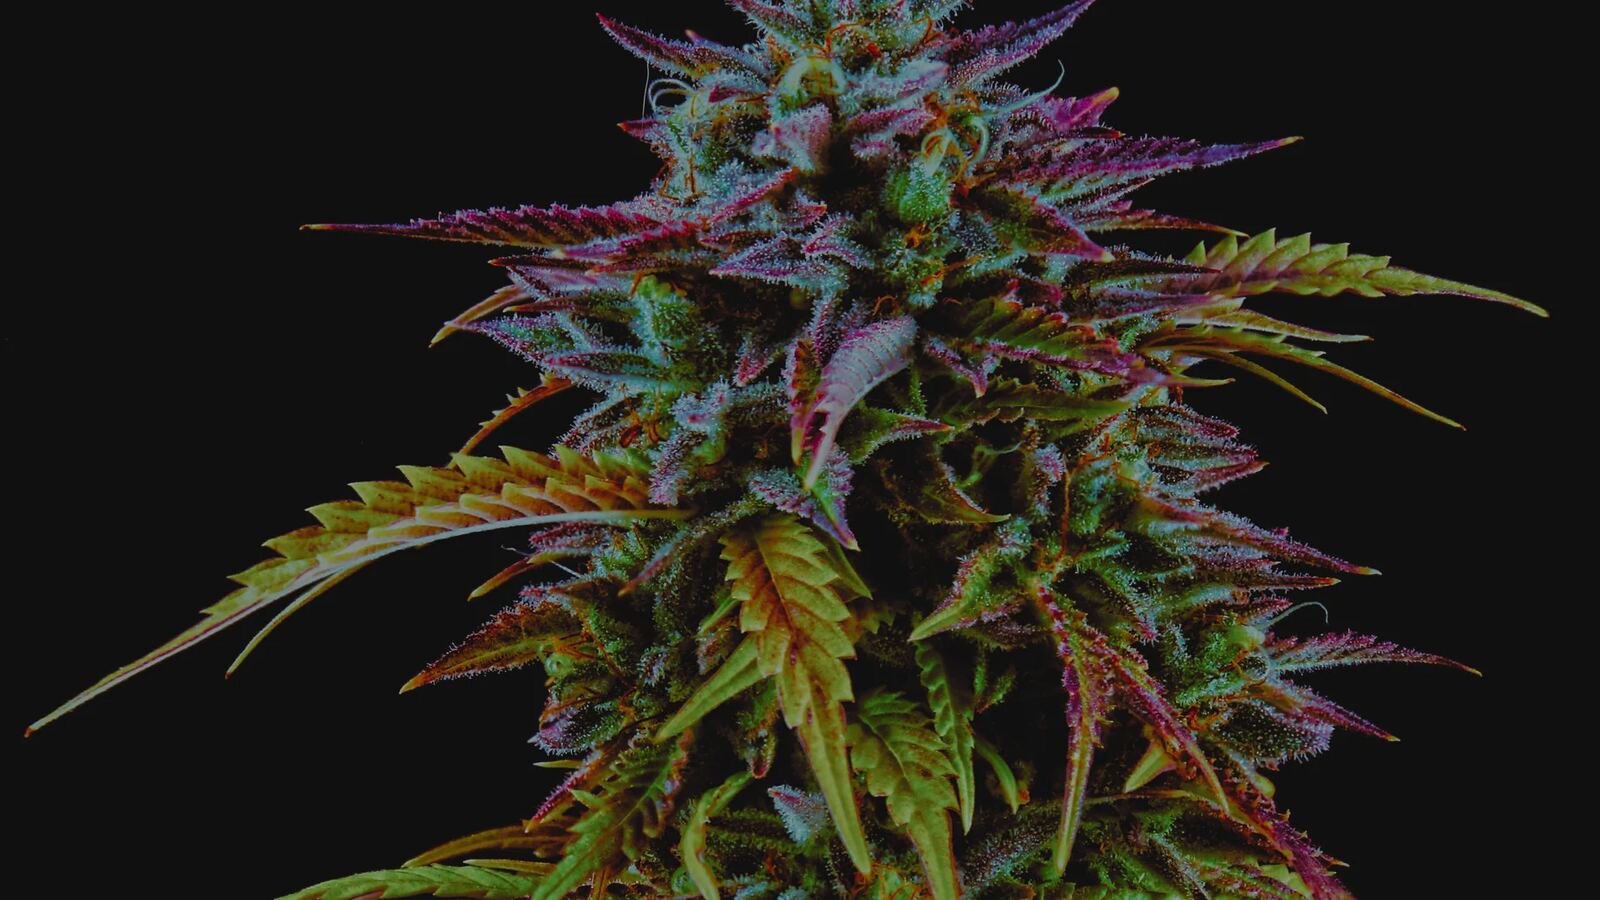
You just picked up a fresh set of clones. The genetics sound perfect for your tent, and you’re ready to get them in soil. But before you plant, there’s a step that separates successful home growers from those who spend weeks nursing sick plants back to health: a thorough pre-plant inspection. The clones you bring into your grow room set the trajectory for your entire cycle. A single clone carrying pests or disease can spread to every plant in a tent grow, where space is tight and airflow is shared. For home growers working within plant-count limits, losing even one plant to a preventable issue hurts more than it does at commercial scale. This checklist walks you through exactly what to look for — from the moment you open the packaging to the first 48 hours after transplant. If you’ve already read our comparison of tissue culture vs. traditional clones vs. seeds, you know that verified clones give you a head start. But even the best genetics need a clean entry into your garden. Visual Inspection of Leaves and Stems Your first look at a clone tells you more than you might think. Hold the clone under natural or white light — not blurple LED — so you can see true colors. Walk through each part of the plant systematically. What Healthy Leaves Look Like Healthy cannabis clone leaves should be uniformly green with a slightly waxy sheen. The leaf margins should be smooth, not jagged or crispy. New growth at the center of the clone should be a lighter green than older fan leaves — this color gradient is a sign of active growth. Leaves should feel firm but pliable when gently touched, not brittle or papery. If the clone came in a humidity dome, expect leaves to look slightly softer than hardened-off plants — that’s normal and will correct during acclimation. Red Flags: Discoloration, Spots, and Curling Yellowing on lower leaves can indicate the clone was cut a while ago and has used up stored nitrogen — not necessarily a dealbreaker, but it means the clone needs transplanting soon. Yellowing on new growth is more concerning and may signal a nutrient lockout or root issue. Brown or rust-colored spots on leaves are a classic symptom of fungal pathogens like septoria, while white powdery patches indicate powdery mildew — both are problems you do not want in a home tent. Curling or clawing leaves often point to environmental stress during transit or early rooting. Upward curling (canoeing) suggests heat or light stress. Downward clawing can signal nitrogen toxicity or overwatering in the rooting medium. If you see more than one of these symptoms on the same clone, or if multiple clones in the same batch show issues, consider reaching out to your supplier before planting. A reputable clone provider will stand behind their genetics and should be transparent about what you’re receiving. Root Health Assessment Roots are the engine of your plant, and clone roots are young and vulnerable. Whether your clones arrive in rockwool cubes, peat plugs, or bare-root, the root zone deserves close attention before you transplant. Checking the Root Zone Before Transplant Gently remove the clone from its plug or container and examine the root mass. Healthy roots are white or cream-colored with a fibrous, branching structure. You should see roots emerging from multiple points around the plug, not just a single taproot shooting straight down. Roots should look crisp and defined — fuzzy or mushy roots with a brown or tan coloration indicate the start of root rot (pythium). A mild earthy smell is normal; a sour or musty odor is a warning sign. Signs of Root-Bound or Underdeveloped Clones A root-bound clone will have roots circling tightly around the bottom and sides of the plug. While root-bound clones can recover with proper transplanting, they may stall for a week or more as roots reorient. Underdeveloped clones, on the other hand, show few visible roots from the plug. These clones may have been cut too recently or rooted in suboptimal conditions. A clone should have visible root development before leaving the nursery — if you can barely see roots, ask your supplier about their rooting timeline. For more on how clone production methods affect plant quality, see our post on preventing genetic drift in mother plants. Pest Inspection Pests are every grower’s nightmare, and clones are a known vector. Commercial facilities invest heavily in integrated pest management. Home growers need to be their own IPM department, and that starts at the clone inspection stage. Common Pests That Hitchhike on Clones Spider mites are the most common clone hitchhiker. Look for tiny specks moving on the undersides of leaves and fine webbing between leaf nodes. A jeweler’s loupe or 30x magnifier makes this inspection dramatically more effective. Thrips leave silvery trails and small black droppings on leaf surfaces. Aphids cluster on new growth and stems, leaving a sticky residue called honeydew. Fungus gnats are more likely to come from the rooting medium than the plant itself — small dark flies hovering near the soil surface are a giveaway. Quarantine: Your First Line of Defense Even if your visual inspection comes back clean, quarantine new clones away from your existing garden for at least 5–7 days. A separate small tent, a cleared shelf with a basic LED, or even a temporary humidity dome in another room works. During quarantine, continue checking undersides of leaves every other day. Many pest eggs take 3–5 days to hatch, so a clean first-day inspection doesn’t guarantee the clone is pest-free. This isolation period also gives you time to spot any disease symptoms that weren’t visible on day one. What to Ask Your Clone Supplier The best inspection starts before you ever see the clone. Asking the right questions sets expectations and tells you whether you’re working with a supplier who takes quality seriously. Verification and Testing Records Ask whether the clone supplier performs routine pathogen testing on their mother stock. Specifically, ask about HLVd (Hop Latent Viroid) testing. HLVd is a serious concern in cannabis cultivation — infected plants may show no visible symptoms for weeks while producing lower yields and reduced cannabinoid content. Reputable clone suppliers use molecular testing (PCR) to screen mother plants regularly. For a deeper look at why this matters, read our guide on HLVd testing and what it means for clone buyers. Strain History and Mother Plant Age A mother plant that has been in continuous production for years may show signs of genetic drift — gradual changes in growth patterns, potency, or terpene expression over successive generations. Ask how old the mother plant is and how often the supplier refreshes their mother stock. Good suppliers maintain detailed records of mother plant health and replacement schedules. If a supplier can’t tell you basic information about the mother plant your clone came from, that’s a red flag. First 48 Hours After Receiving Your Clones What you do in the first two days after receiving clones has an outsized impact on how quickly they establish and how vigorously they grow. Start with a gentle acclimation. If clones arrived in a humidity dome, don’t pull them out and drop them under full-intensity lights immediately. Open the dome vents progressively over 24–48 hours to let clones adjust to ambient humidity. Keep light intensity low for the first few days — clones are not photosynthesizing at full capacity and can be shocked by intense light. A PPFD of 150–250 µmol/m²/s is a safe range during the transition period. Transplant into your medium of choice once roots are established enough to hold the plug together. Water in gently with a diluted nutrient solution appropriate for early vegetative growth. Avoid overwatering during the first week — clone roots are small and don’t pull much water yet. Overwatering at this stage is one of the most common causes of early clone failure among home growers. Monitor daily for the first week. Look for new leaf growth as the primary sign that the clone has successfully transitioned. Minor leaf droop in the first 24 hours is normal. Drooping that persists past day two or gets worse is cause for concern. If you’re growing one of our home-grower-friendly strains like Biscotti OG, GMO, or Candy Bezels, you’ll find these cultivars are forgiving during transition, with vigorous rooting characteristics that make them great choices for newer growers. Frequently Asked Questions How do I know if a clone is healthy before buying it? Look for clones with firm, evenly green leaves, no spots or discoloration, and visible root development. Ask the supplier about their pathogen testing protocols and mother plant management. A reputable supplier should be able to answer these questions clearly and without hesitation. Buying from a verified clone provider that tests for HLVd and other pathogens gives you the strongest starting point. Should I quarantine clones even if they look healthy? Yes. Many pests and pathogens have incubation periods where symptoms are not yet visible. A 5–7 day quarantine in a separate space from your main garden gives you time to catch issues before they spread. Use a simple light source and maintain moderate humidity during quarantine, and inspect leaves — especially undersides — every other day during the isolation period. What causes clones to wilt right after transplant? Transplant shock is the most common cause, usually from abrupt changes in humidity, light intensity, or temperature. Clones moving from a high-humidity rooting environment to a drier grow space can lose water faster than their small root systems can replace it. Gradual acclimation over 24–48 hours — slowly reducing humidity and increasing light — prevents most wilting. Overwatering after transplant can also cause drooping by suffocating roots, so water lightly and let the medium dry somewhat between waterings. How long does it take for clones to start showing new growth? Well-rooted clones typically show visible new leaf growth within 3–7 days after transplant into proper conditions. Strains vary — some vigorous cultivars push new growth almost immediately, while others take a week or more to settle in. If you see no new growth after 10–14 days despite healthy-looking leaves, check your environmental conditions, particularly root-zone temperature and light intensity. Can I put clones directly under my grow light after receiving them? Not at full intensity. Clones need a gradual introduction to grow lighting. Start at reduced intensity — about 150–250 µmol/m²/s PPFD — and at a greater distance from the canopy than you would for established plants. Increase light intensity in small increments over the first week as you see new growth appear. Pushing full-intensity light on day one is a fast way to stress or burn young clones. Start Your Next Grow with Confidence A thorough clone inspection takes fifteen minutes. The problems it prevents can save you an entire grow cycle. For home growers, where every plant counts and grow space is limited, that time is well spent. At Clone Source Genetics, every clone we ship has been through multiple rounds of inspection and testing before it reaches you. Our mother plants are regularly screened for HLVd and common pathogens, and our rooting protocols produce clones with healthy, well-developed root systems ready for transplant. Browse our current inventory at our clones page to find the right genetics for your home setup. Questions about what to grow or how to get started? Reach out to our team — we’re happy to help you pick the right strains for your space and experience level.
Home Grower’s Clone Checklist — What to Inspect Before You Plant
2026-06-18 — Home Grower